Headlight wiring problems often begin as flickering, intermittent operation, dim output, or a lamp that works after the connector is moved. Ignoring those clues can eventually leave a headlight completely dark. Checking connectors, grounds, fuses, relays, and harness condition early is usually more productive than repeatedly replacing bulbs that aren’t causing the fault.
Recognize Patterns That Point Toward Wiring
A bulb that repeatedly cuts out but returns when the vehicle hits a bump may have a loose connection. Flickering can also develop where connector terminals have lost tension or where corrosion increases electrical resistance.
Compare the left and right lamps. When only one side is affected, the fault is often within that side’s bulb socket, connector, ground, or branch wiring rather than a shared upstream circuit.
Resources covering vehicle electrical systems may introduce common fault patterns, but diagnosis should still be based on testing the affected vehicle.
Examine the Bulb Connector
Turn the lights off before inspecting the socket. Look for discoloration, melted plastic, green or white corrosion, loose terminals, damaged locking tabs, or wiring that has become stiff near the connector.
Heat damage deserves particular attention. A poor connection creates resistance, and resistance can generate heat that further damages the terminal.
Check for Moisture
Water inside a headlamp housing can contribute to corrosion around electrical connections. A repaired connector may fail again if a leaking housing, missing cap, or damaged seal continues allowing moisture into the assembly.
| Symptom | Likely Area to Inspect | Possible Clue |
|---|---|---|
| One lamp flickers | Local connector | Changes with vibration |
| Lamp appears dim | Ground or resistance | Voltage drop |
| Both lamps fail | Shared circuit | Fuse or relay |
| Socket looks burned | Terminal connection | Heat damage |
Don’t Ignore Ground Connections
Headlights need a reliable ground path. A loose, rusty, or damaged ground can make a perfectly good bulb appear weak or intermittent.
Voltage-drop testing can reveal resistance that isn’t obvious during a visual inspection. General roadside repair information can be useful for understanding symptoms, but wiring diagrams are needed when tracing where a specific headlight ground is located.
Clean and secure the ground only after disconnecting or protecting the circuit as required by the vehicle’s service procedure.
Trace Harness Damage Beyond the Lamp
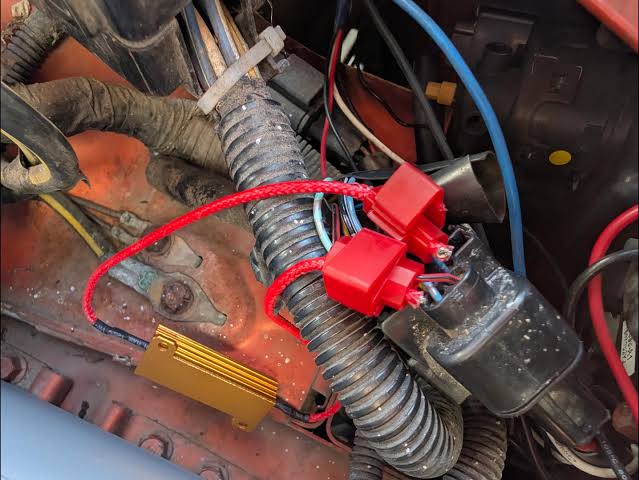
Wiring problems aren’t limited to the socket. Harness sections near radiator supports, fenders, battery trays, previous collision repairs, or aftermarket equipment can become rubbed, stretched, crushed, or poorly spliced.
Look for electrical tape covering unknown repairs or wiring routed against sharp metal. A connection that appears intact from outside can still contain broken strands beneath the insulation.
Broader automotive repair reading may help owners recognize common electrical issues, though a meter and correct circuit diagram provide stronger evidence than visual guessing.
Where Headlight Diagnosis Goes Wrong
Installing bulb after bulb without checking voltage wastes money when the connector is damaged. Another common mistake is replacing a fuse and assuming the problem is solved even though the fuse fails again shortly afterward.
Don’t install a larger fuse to stop repeated failures. The fuse protects the wiring, and increasing its rating can allow the circuit to overheat before protection occurs.
Unidentified aftermarket wiring should also be inspected carefully rather than assumed harmless.
Frequently Asked Questions
Can bad wiring make a headlight dim?
Yes. Excessive resistance in a connector, wire, or ground can reduce the voltage available to the lamp. Measuring voltage drop while the headlight is operating can help identify where that resistance exists.
Why does my headlight work after I tap it?
Movement may temporarily restore contact inside a failing bulb or loose connector. Inspect both rather than assuming the bulb is responsible, especially if the problem keeps returning.
Should I replace a melted headlight connector?
Heat-damaged connectors generally require proper repair rather than being left in service. The underlying cause should also be identified so excessive resistance, incorrect bulbs, or another electrical issue doesn’t damage the replacement.
Fix the Connection Before It Becomes a Failure
Intermittent headlight behavior is useful diagnostic information. Inspect the bulb socket, grounds, fuse protection, harness routing, and voltage before a complete failure removes those clues. Repairing the electrical cause early can improve reliability and prevent a damaged connection from creating a larger wiring problem.